The major downside of getting a new computer is that you have to set it all up from scratch. Most people have pretty large iTunes music library with hundreds of songs, which can make trying to transfer iTunes to a new computer complicated. If you decided to do it manually, it turns out some of the music files become unplayable, broken or corrupted. Don't worry, though, if you want to transfer iTunes library to the new computer effortlessly, the following article will give you some hints. You'll find the two solutions in total to move iTunes library to new computer with ease.
1. Using iTunes Backup
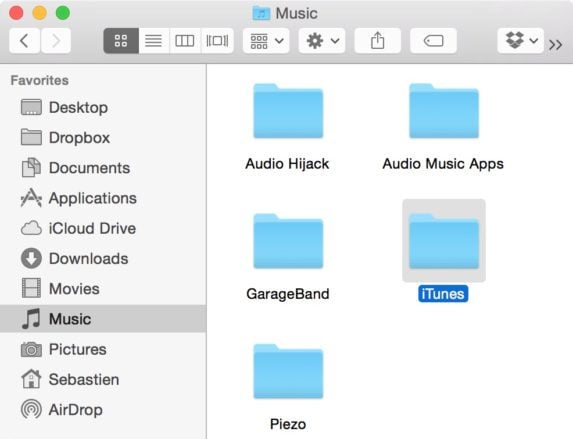
Step 1: Open a new Finder window and go to the Music folder, which should be under yourusername > Music.
Step 2: You should see a folder named iTunes. Make a right click on this folder and copy it.
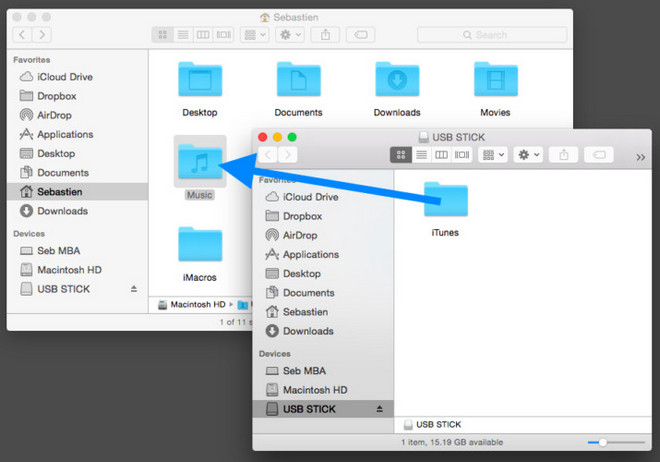
Step 3: In a new Finder window, open your external hard drive or USB stick.
Step 4: Paste the iTunes folder in the external drive or USB stick. Depending on the amount of music you have in your library it could take a while.

Step 1: Plug your external hard drive or USB stick in the new computer.
Step 2: Double click it to open and see what is inside. If the steps above were completed correctly, you should obviously see your iTunes folder.
Step 3: Launch a new Finder window and find the Music folder of your new computer.
Step 4: From the external drive or USB dongle, drag and drop the iTunes folder inside the Music folder of the new computer. Items will be copying over, which again could take a while depending on the size of your library.
Done! You can now launch iTunes and all your music, including all songs, albums, album arts, as well as playlists should be in there.
2. Using Migration Assistant
Library transfer can be done in several. Except using a USB thumb drive or hard drive, you can also transfer your iTunes Library to new computer via Apple's Migration Assistant utility. Migration Assistant is a utility by Apple Inc. that transfers data, user accounts, computer settings and apps from one Macintosh computer to another computer, or from a full drive backup. The following is the detailed steps about how to move your content from an old mac to a new Mac. If you want to move your library from a PC to a new Mac, please use Windows Migration Assistant on a PC.
Step 1: Launch Migration Assistant on the new Mac. It's in the Utilities folder of your Mac in the Applications folder. And then click Continue.
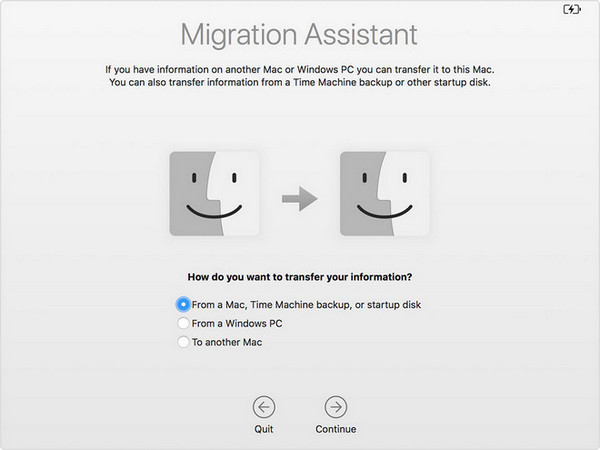
Step 2: You'll be prompted for an administrative password. Enter it, then click OK. Your screen will go black for a moment, after which the main Migration Assistant screen appears:
Step 3: On the older Mac, launch Migration Assistant. Once the window opens, select the option to migrate your data "To another Mac" and then click Continue. You'll be prompted once again to enter an administrative password. The screen will go black, and the same Migration Assistant screen seen just above appears.
Step 4: On the new Mac, select the option to transfer information from a Mac, Time Machine backup or startup disk. Depending on what you have attached to your new Mac, you may see one or more devices.
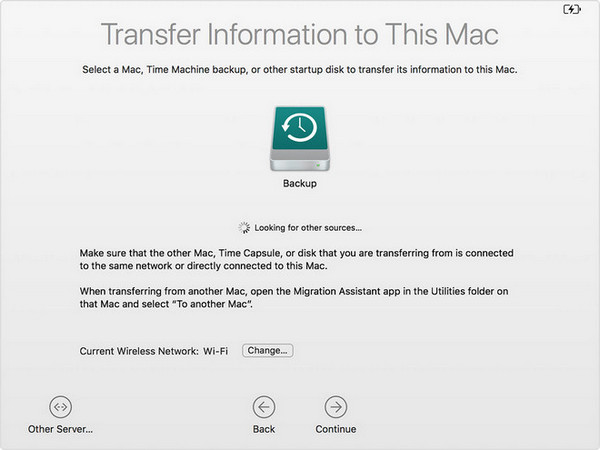
Step 5: Whatever the source of data may be, click on it to select it, and then click Continue. On the next screen, a six-digit security code is displayed. You should verify that both the receiving (new) and sending (older) Macs both display the same security code, then click Continue on older Mac.
Step 6: On this next screen, it's possible to select the information that is migrated. For example, if you just want to move Applications from the older Mac to the new one, it's possible to deselect all of the other check boxes.
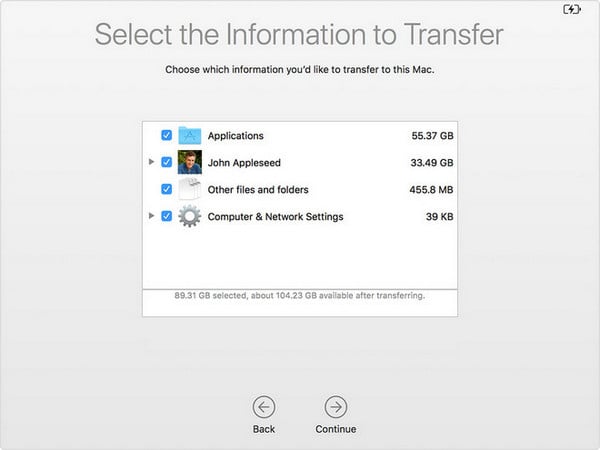
Step 7: Once you've selected what you want or do not want to migrate to the new Mac, click the Continue button and the migration continues. This can take some time depending on how much data is being transferred and the speed of the connection between the two computers.
When the migration is complete, you'll know because the Mac displays the usual login screen. Just log into the account you migrated to the new Mac, and all of your data and settings will be intact.
3. Tips to Move iTunes Music Library to OneDrive
Since Apple uses restriction to control the use of its media content by customers. So it's not as easy as you expect if you want to move your iTunes music library to OneDrive. However, don't worry, here we are about to introduce an ultimate workaround for you so that you can transfer iTune music library to OneDrive and enjoy iTunes music on Xbox.
NoteBurner iTunes Audio Converter is a very useful tool that helps Apple Music subscribers easily record M4P songs downloaded from Apple Music and iTunes while converting the M4P tracks to unprotected MP3, FLAC, AAC, AIFF, WAV, or ALAC formats at 10X faster speed, which are compatible with any media playing device. With this perfect solution for Apple Music, users could take full control over their iTunes M4P songs and transfer their iTunes Music Library to OneDrive for enjoying on Xbox.

- Record iTunes M4P music, audiobooks, Apple Music;
- Convert iTunes M4P music, audiobooks, Apple Music files to MP3/AAC/WAV/FLAC/AIFF/ALAC;
- Convert iTunes audio at 10X faster speed with lossless quality;
- Keep ID3 Tags information after conversion;
- Easy-to-use with an intuitive and streamlined user interface;
- Enjoy free update & technical support.
Try It Free
Mac Version Try It Free
Win Version
Related Articles: